The Watchful Horses Two Walkthrough

The Watchful Horses Two Step 1 The Watchful Horses Two Step 2 The Watchful Horses Two Step 3 The Watchful Horses Two Step 4 The Watchful Horses Two Step 5 The Watchful Horses Two Step 6 The Watchful Horses Two Step 7 The Watchful Horses Two Step 8 The Watchful Horses Two Step 9 The Watchful Horses Two Step 10 The Watchful Horses Two Step 11 The Watchful Horses Two Step 12 The Watchful Horses Two Step 13 The Watchful Horses Two Step 14 The Watchful Horses Two Step 15 The Watchful Horses Two Step 16 The Watchful Horses Two Step 17 The Watchful Horses Two Step 18 The Watchful Horses Two Step 19 The Watchful Horses Two Step 20 The Watchful Horses Two Step 21 The Watchful Horses Two Step 22 The Watchful Horses Two Step 23 The Watchful Horses Two Step 24 The Watchful Horses Two Step 25 The Watchful Horses Two Step 26 The Watchful Horses Two Step 27 The Watchful Horses Two Step 28

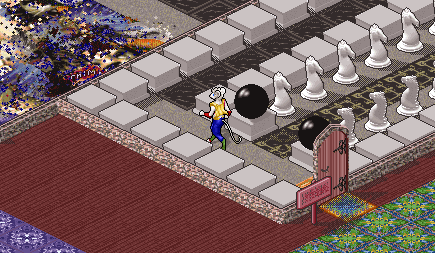
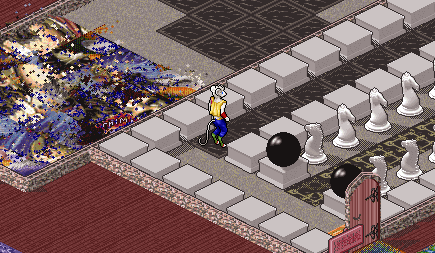
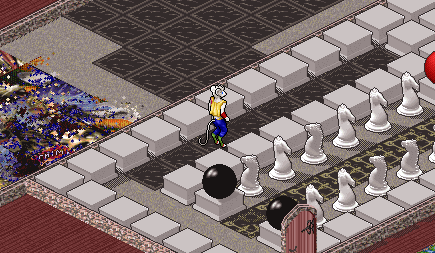
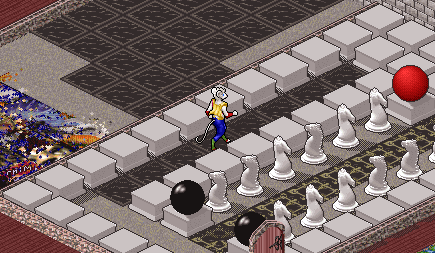
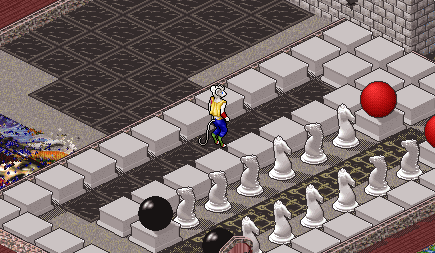
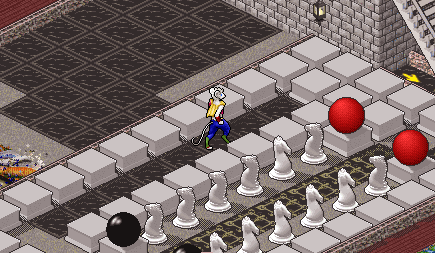
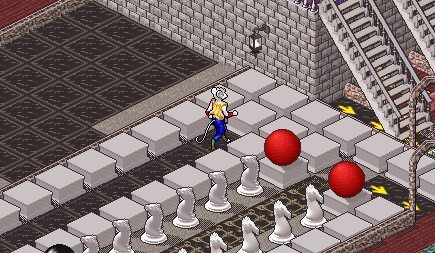
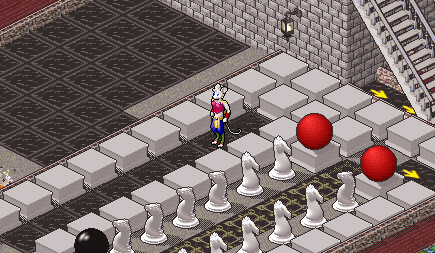
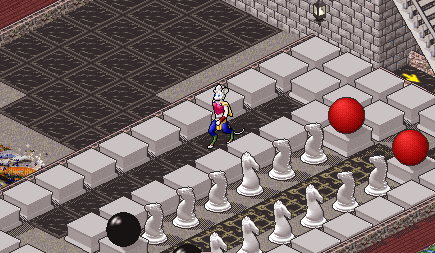
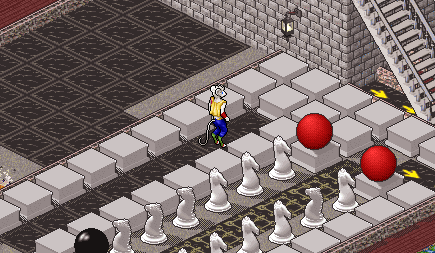
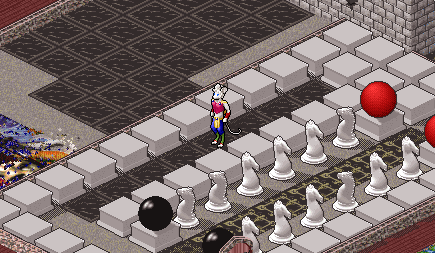
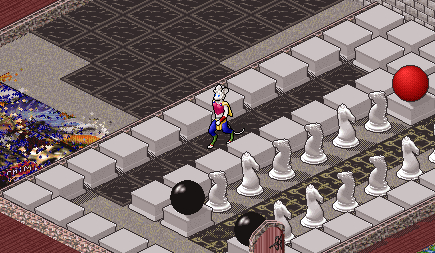
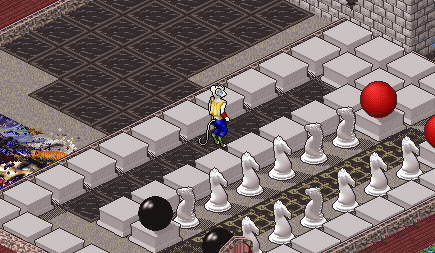
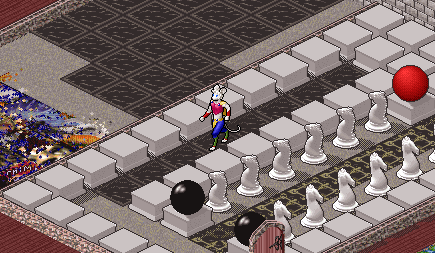
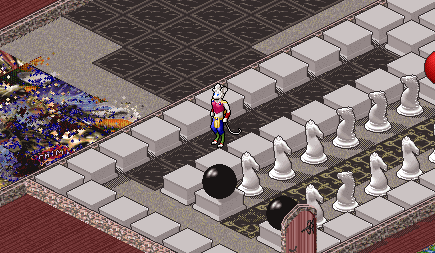
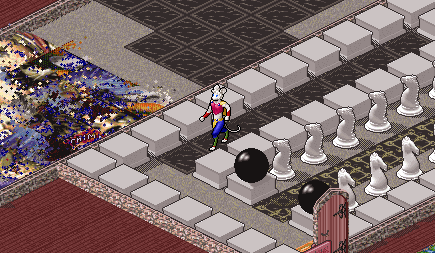
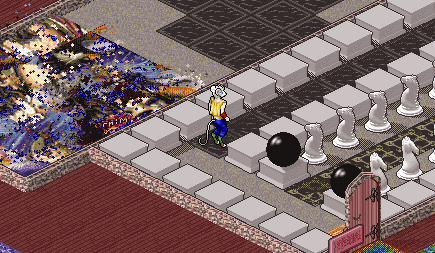
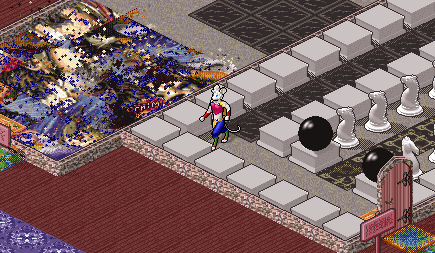
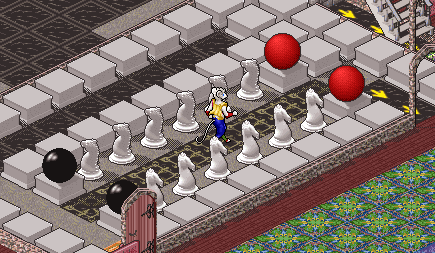
Note: The first three images show the Furre going to the tiles that control the horses. The last shows the Furre going down the pathway to the exit, as the puzzle has been solved.